Art Studio Revamp – The Stage Wall
I am in the process of creating a Circus Theme Art Studio Revamp of my art studio design. The room was originally the bonus room above the garage in my home. My Hubby let me have it as my studio. We took out the carpet and put in wood floors ( saved the carpet in the attic) and installed some new lighting. I moved in. I lived with the yucky color on the walls for 6 years. Feeling uninspired with the color but to frugal to turn around and change out perfectly good new paint I lived with it. However with time the paint needed to be touched up or changed and I asked my Hubby if he minded if I did some creative work with the paint job. He told me to go for it… that was back in May 2016 I got started. First came the red and white stripes to make the room look like the inside of a circus tent. Then in July came a cut out in the tent in the back corner in which I placed a naughty monkey with scissors above my entrance door (he cut the whole) and a small clown on the floor with a bannana trying to coax the monkey down. In the hole I placed clouds, hills, trees a small lake and a hot air balloon. (might add a few clowns to this down the road) In August I worked on the opposite corner where I placed my Baby Elephant Balloon Sales Team along with a big bunch of colorful balloons. Then I moved on the the Medallion around my fan in the center of the room. I changed the fan out to a more colorful option and started to work. Photos and videos of the stripes being created and the two back corners of my room and the creation of the fan Medallion are in previous blog posts on this blog. Now my attention has turned to the stage wall. I am currently working on the 24 clown strong Stage area in the front of my room. For now I thought I would bring my blog a little up to date with photos and videos of the Creation of the stage for my clown alley. I am painting live on facebook and have photos and videos for you to see of the entire process. It has been a fun journey. Enjoy and leave me comments!
The design idea: I knew I wanted a frame for my stage and to raise the floor of the stage higher and I wanted to have curtains that worked with the frame and the colors I wanted to use. So I put together this little drawing of my stage on my computer. It is not exact but it does give me the layout and the overall idea to be customized as I place it on the wall.

The purple space in the middle is where the window is located on the wall. At this point I was also flirting with the idea of clown placement. However this is not the design I went with for the clowns. The clowns will be covered in future posts.
The process started with removing the yucky yellow color that was still on a few of the walls since I didn’t move my desk till the last minute that still needed to be painted white.

The last little bit of yucky yellow
 Painted White on the walls behind the desk.


Taped off the design on the base of the stage

Painted the red triangles

Taped Off and added the blue Triangles


Added a brown stage

Added Side design. and some of the top design.
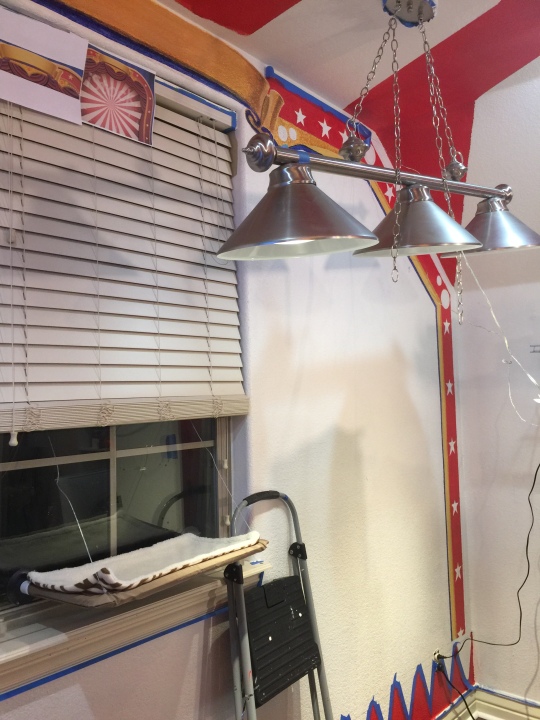
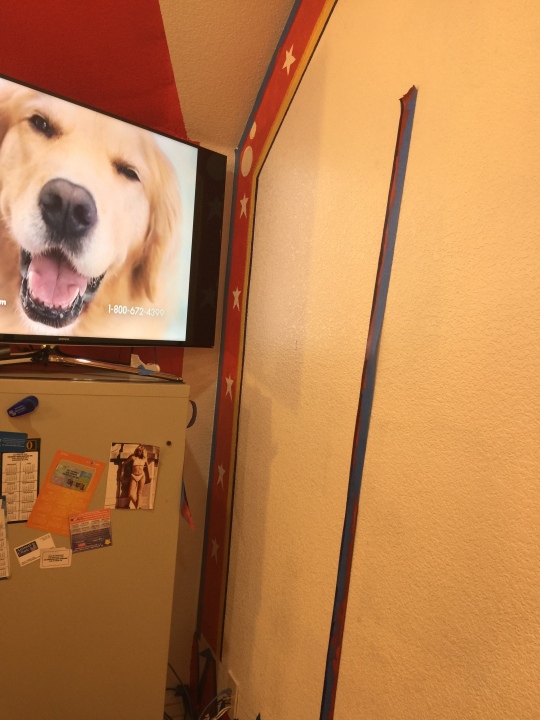

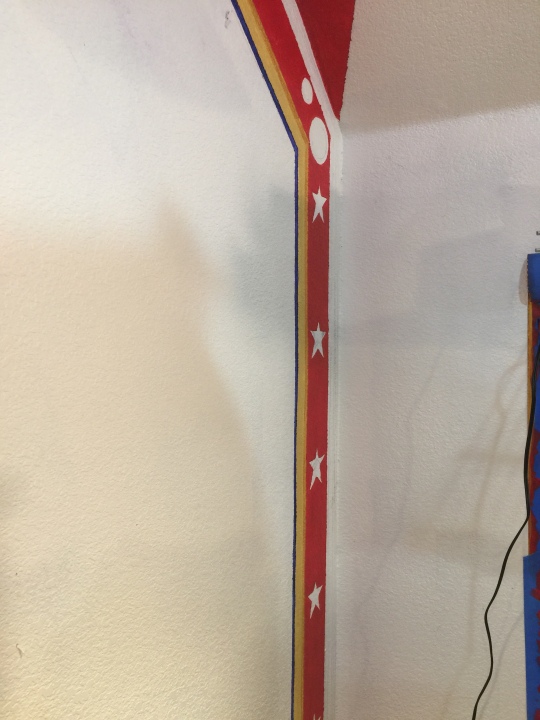


Added a banner area at the top over the window where I will place my Logo

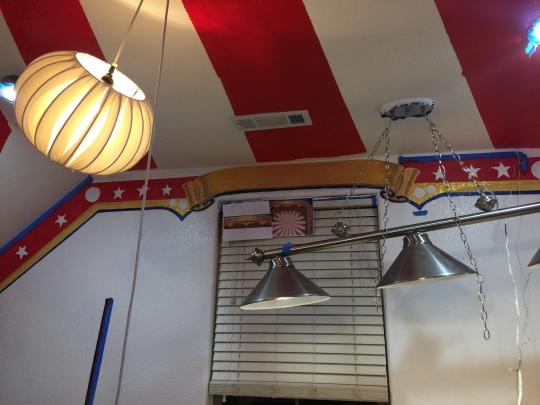


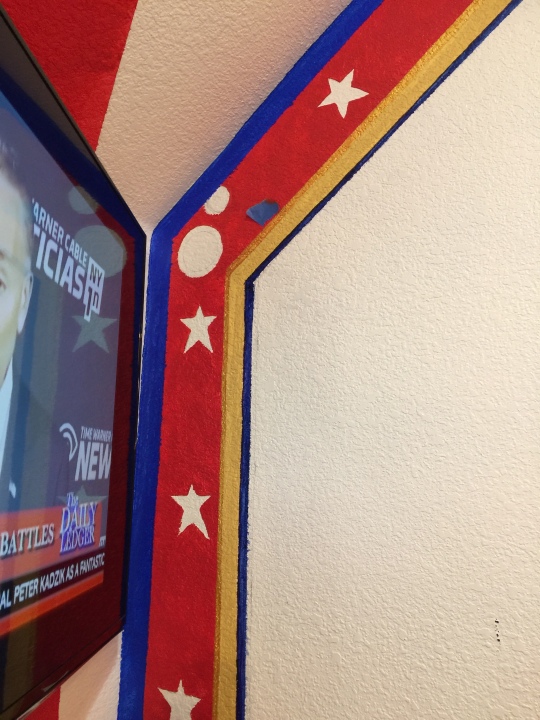


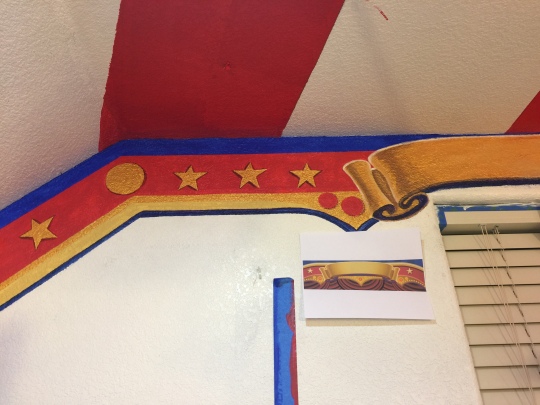


Added paint and more detail to the frame all around


Added details to make it pop


Added details to make it pop


Added 3D to make it pop more to the top – the sides will be done later.
Added painted Curtains and my logo.


Joy my Stage Manager.


At this point I am ready to project my clowns on the wall and start with the sketching and then the painting which I know will take a while. The sides of the frame I am going to refrain from completing at this time because I am not sure of the placement of the clowns and a few of them might be in front of some of the frame design. Each clown I used gave me permission to use their image. Each clown is trademarked so the replication I will be doing of each clown will be as exact as I can make it with the twinkle in the eye and the joy on their faces. Once I actually start painting the detail stage of each clown there will be anywhere from 6-12 hours each just on detail and that does not include basic sketching or blocking in color which is where I will be starting once the sketch is to where I am satisfied.
I do project my images on the wall. I use the projector for placement and to get the features right. However the clown image will not look right or completed until I do get to the final detail stages. Until then each clown can go through some pretty incomplete and even scary stages. Have faith it will look right when I am done with them.
I have videos of the creation of the stage so I will post those in the next blog.
Now that the Stage is to a stopping point… bring on the clowns…. Stay Tuned
Patty Sue O’Hair – Vicknair Clown artist to the world
psovart@gmail.com
Follow my art on Facebook
http://www.facebook.com/pages/PS-OV-ART-Patty-Sue-OHair-Vicknair-Artist/120774855204
Please like this blog and share among your clown friends. All comments are welcome!


Thank you for your Comments